
LASER Enclosure Finally “Complete”
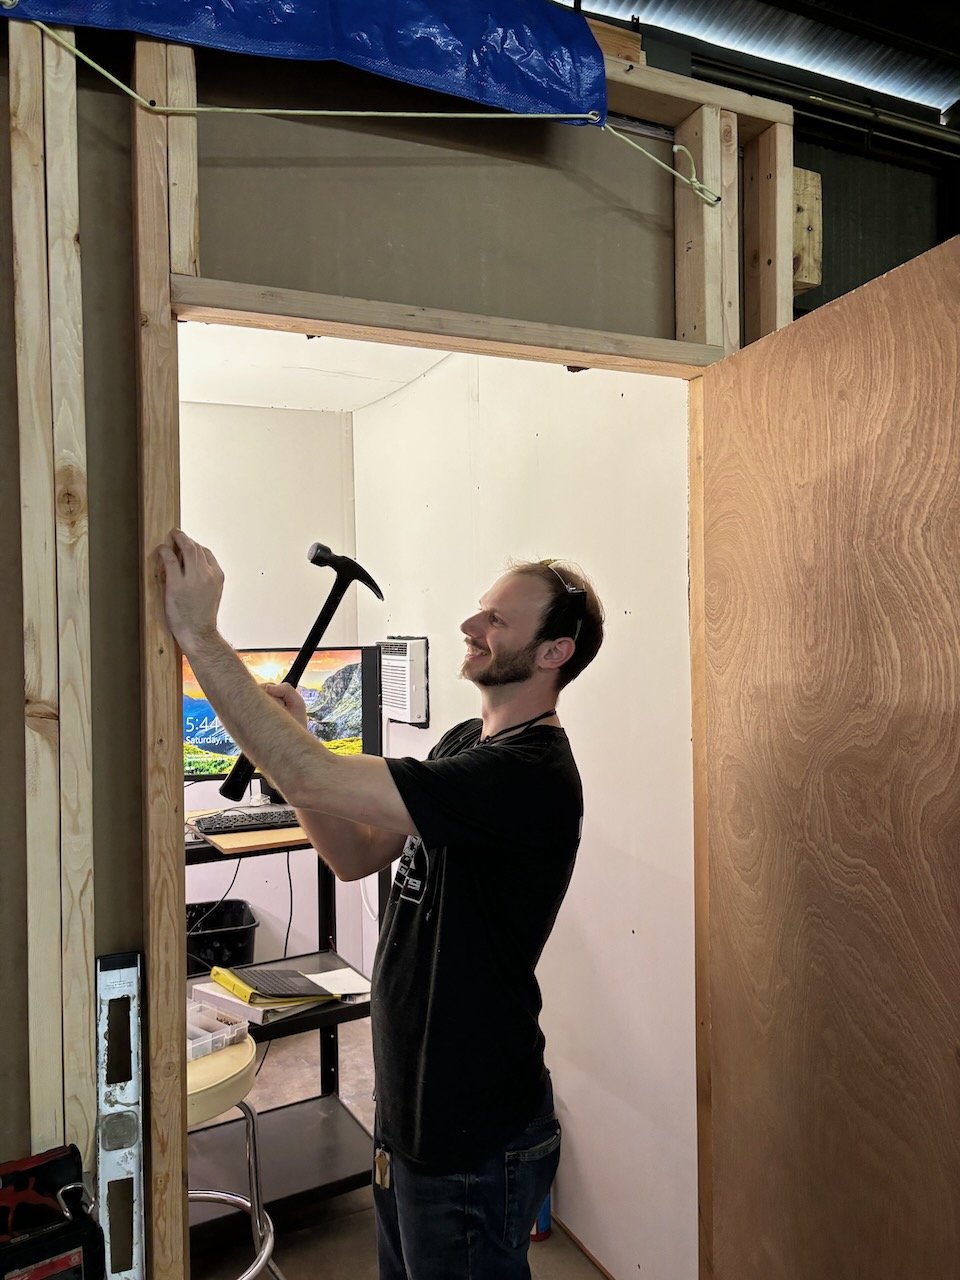
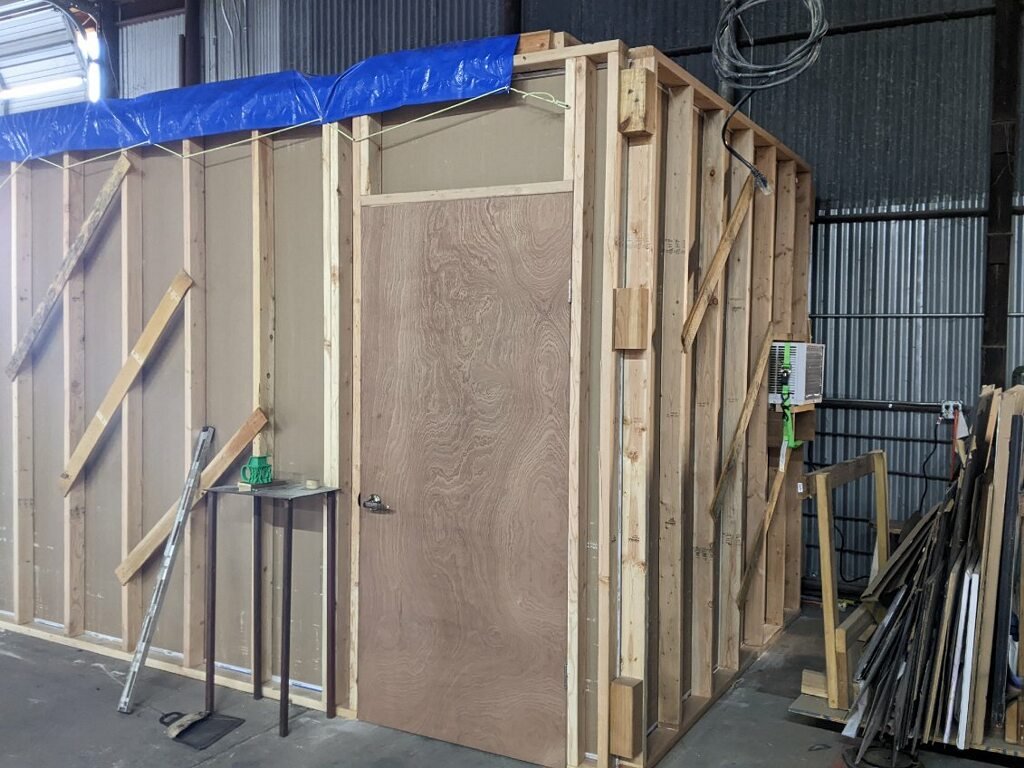
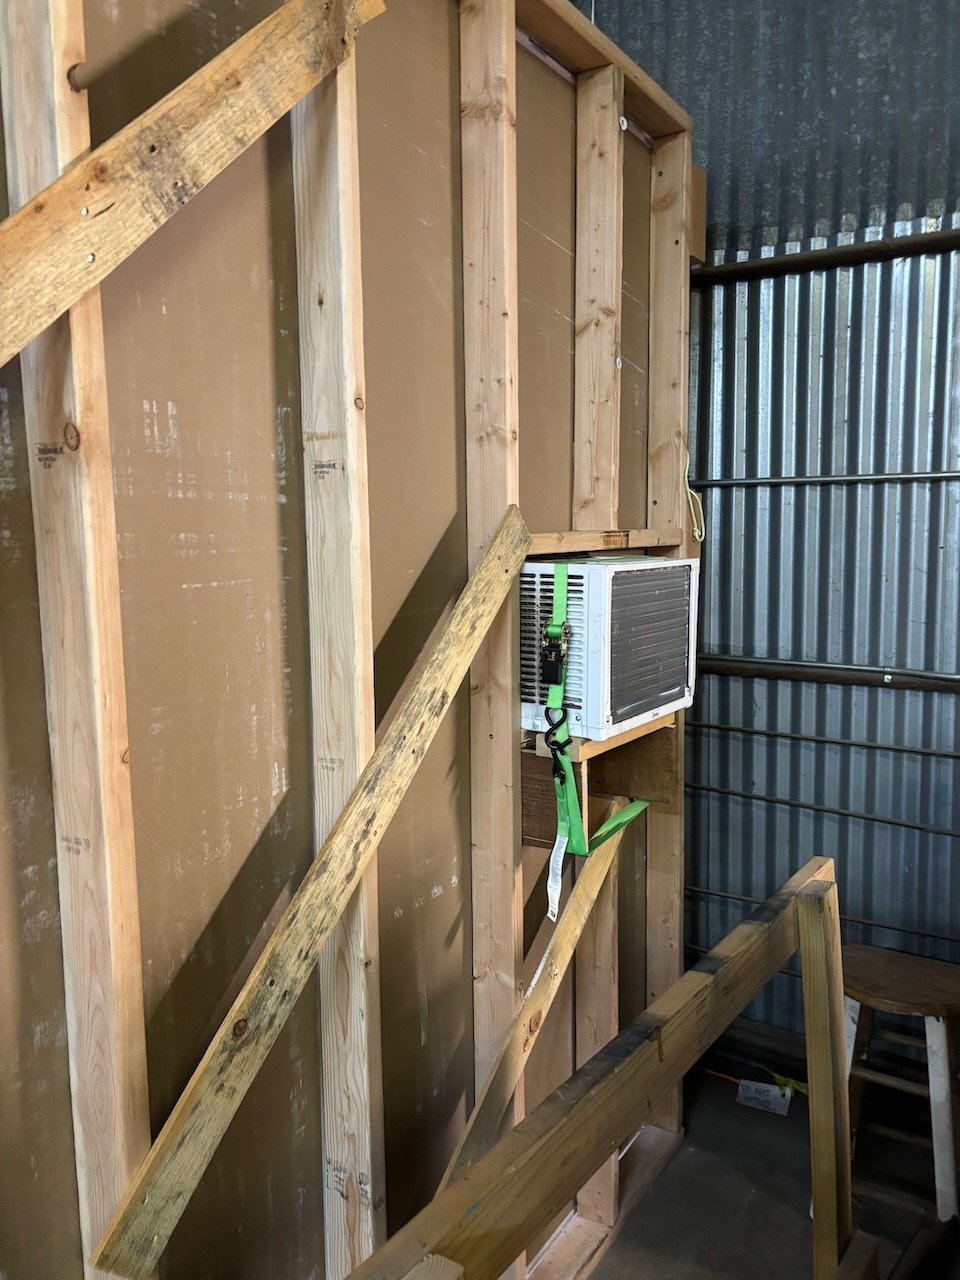
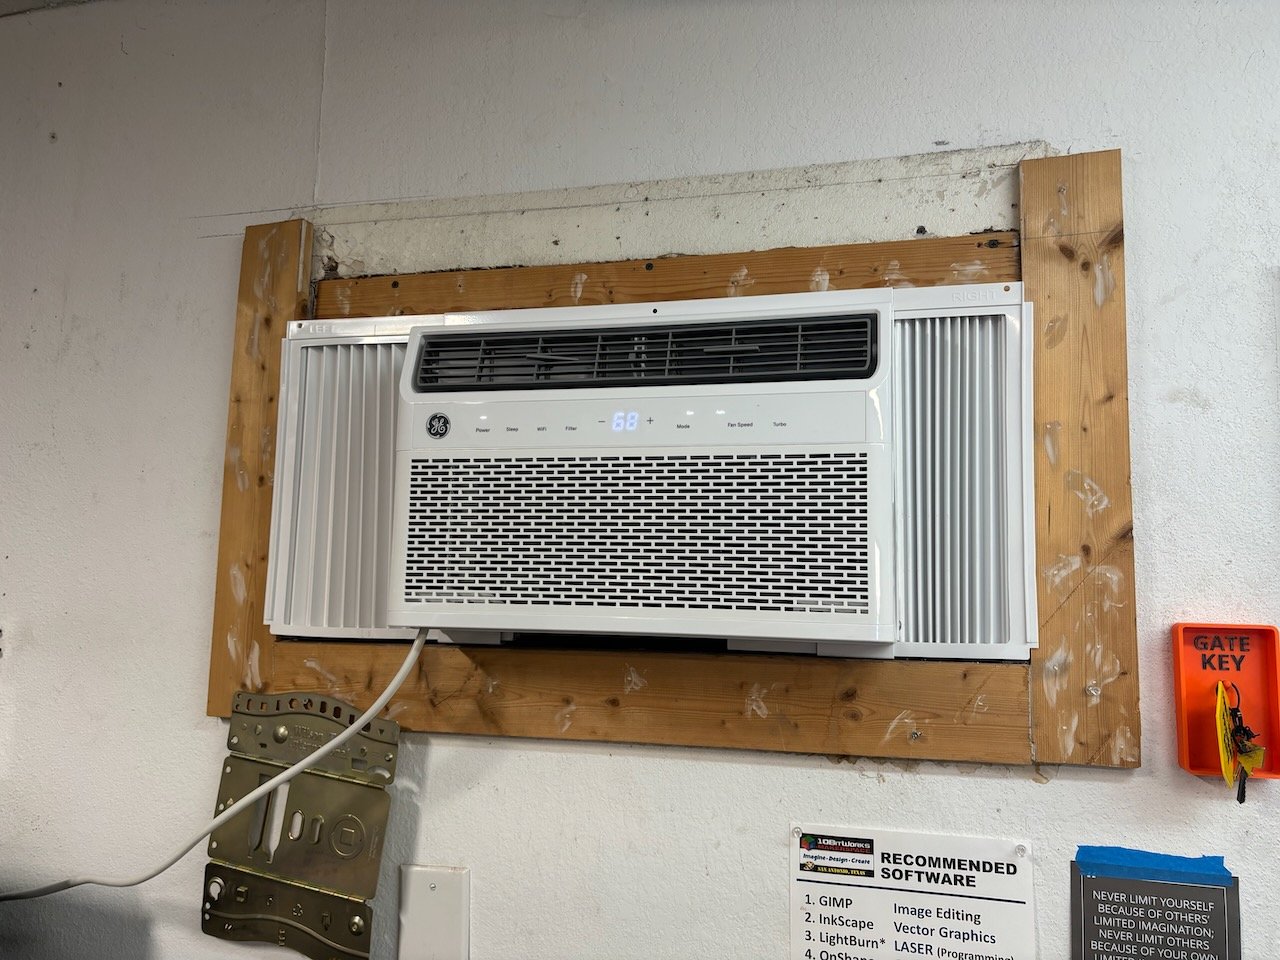
Ok, we do still need to install overhead lighting but otherwise the space is looking pretty good! Got wall AC installed just in time for things to start heating up in San Antonio. We took the unit from the board room and replaced it with a much better unit. Cool LASER room and cooler board room? Wins, 100%.
Lets talk about some missteps.
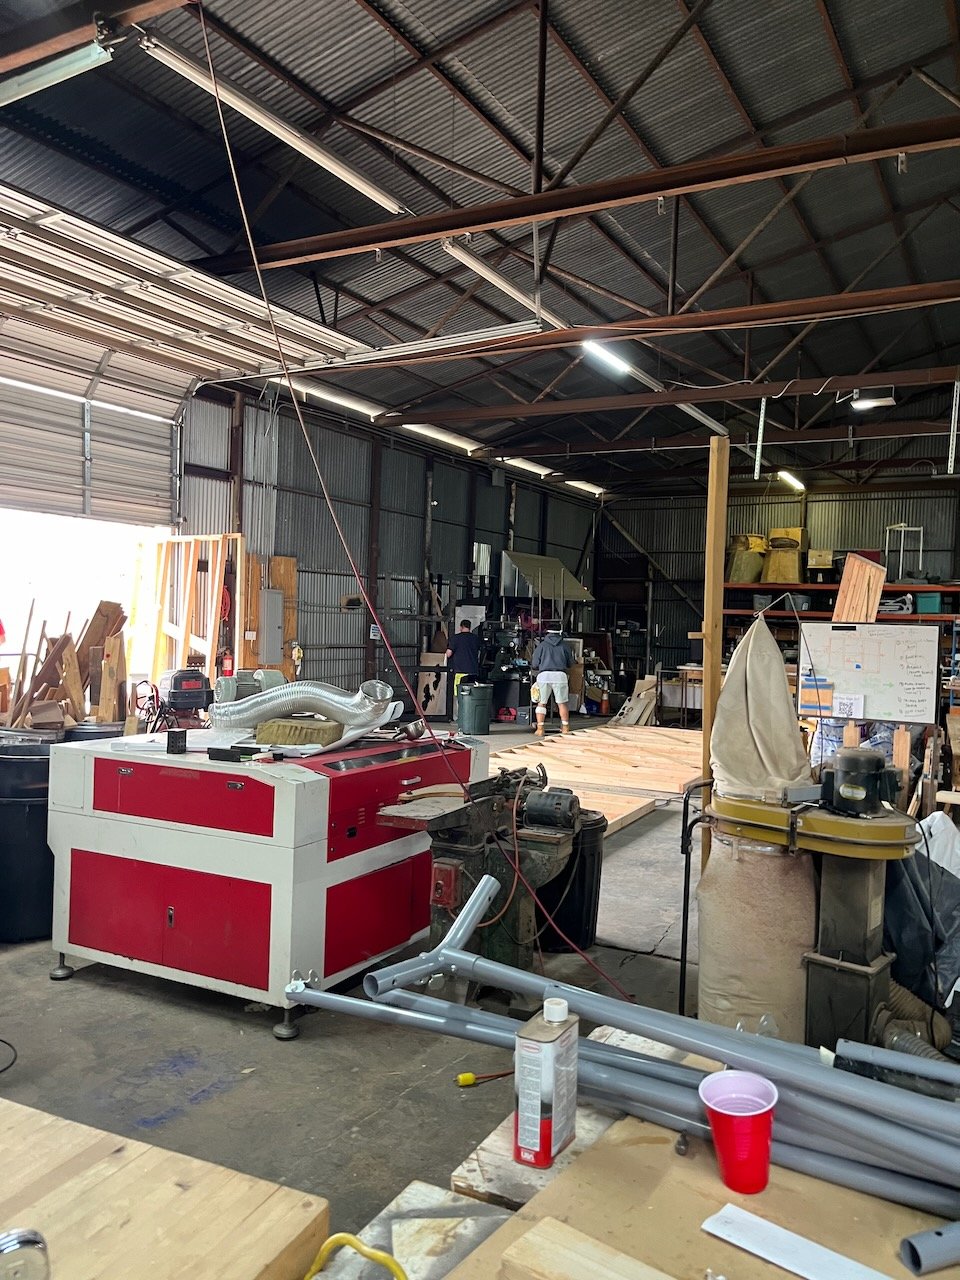
#1 Not understanding how the LASER ventilated fumes
Our original thought was to have an “airtight“ room that would be easy to cool and resistant to outside dust. What we learned while installing the LASER what that while it has an exhaust vent, it doesn’t have an inlet vent. It instead relies on creating a negative pressure within the body of the LASER to pull in air from the room. This meant that we couldn’t pull air from outside of the enclosure like we had envisioned. While this did not have an effect on the construction of the space, it certainly negated one of the advantages that drove the project.
#2 Not realizing that moving the LASER would put the mirrors out of alignment.
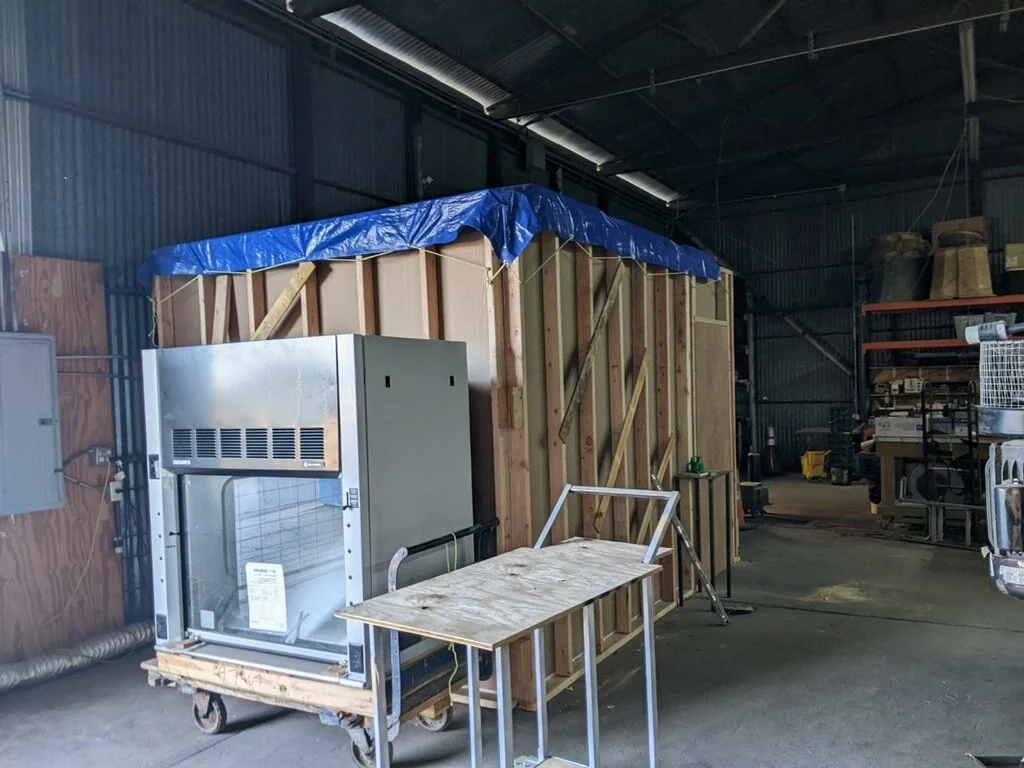
This is the most significant misstep of the project. You may ask yourself, “Why is the LASER so far from the wall, I barely have room to get around it!“. This stems from a design flaw that we only uncovered once the space was built and the LASER was emplaced. When rolling the LASER across the floor, the body of the LASER flexes and the mirrors go out of alignment. We had orignally envisioned the LASER as tucked into the corner and able to rolled to the center of the room for maintenance. Unfortunately, the reality of that plan was that the LASER would be in the center of the room where we had access to all the panels required to align the mirrors and when we pushed the LASER back into the corner the mirrors would be forced out of alignment. The only solution was to keep the LASER in the same location that gave us access to the panels.
But what did we do right?
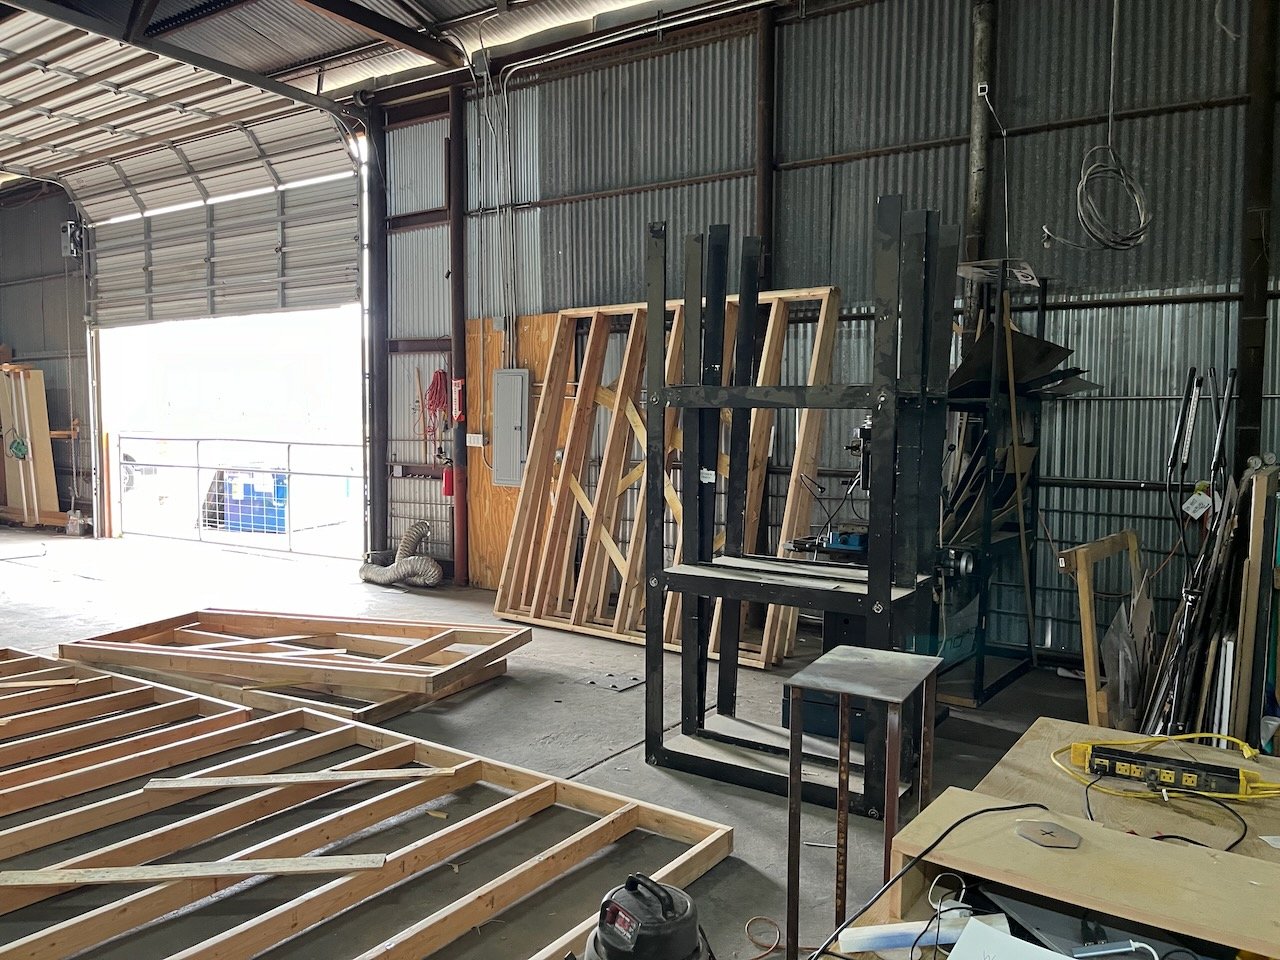
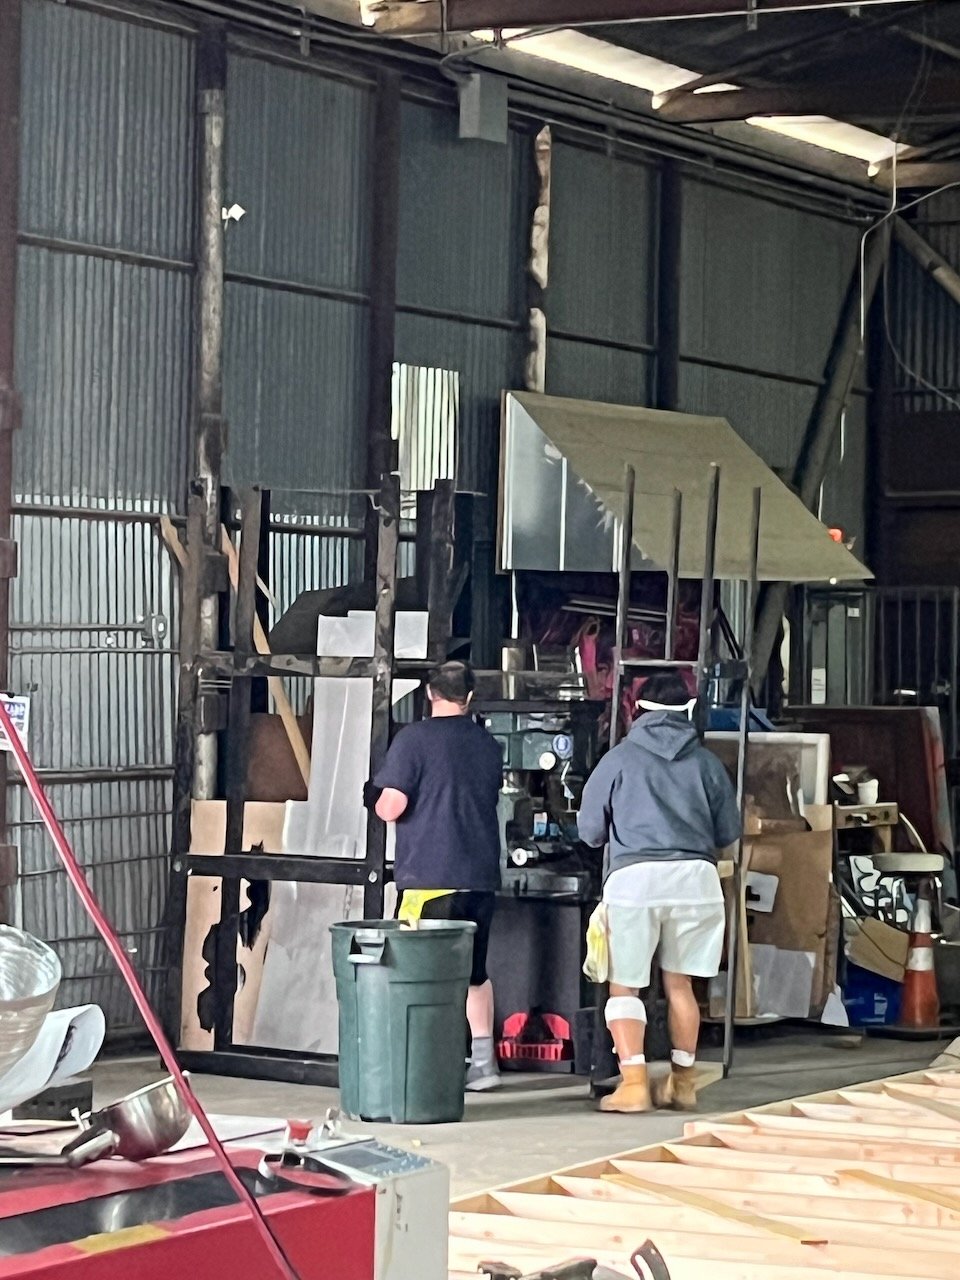
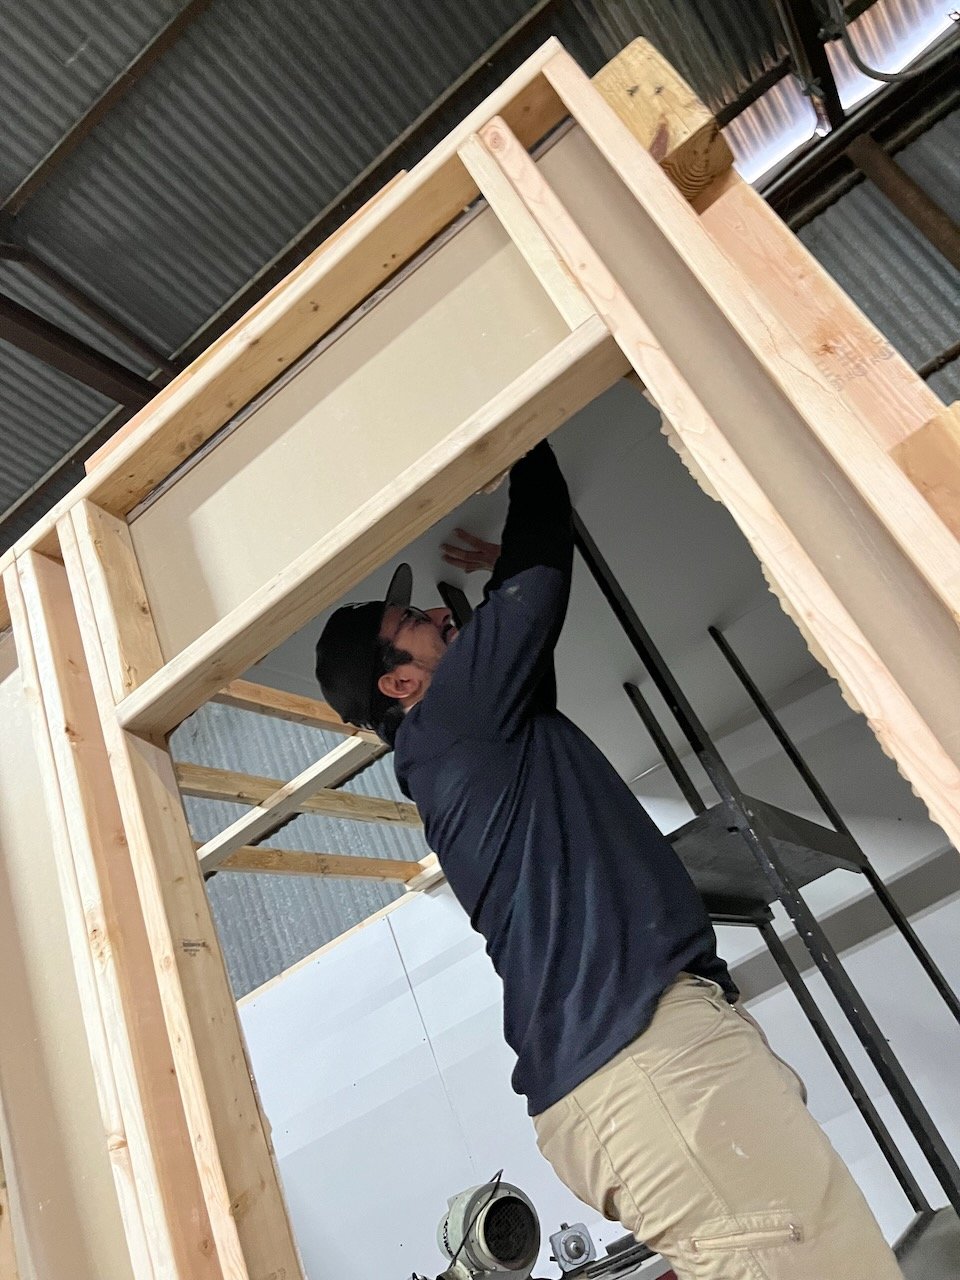
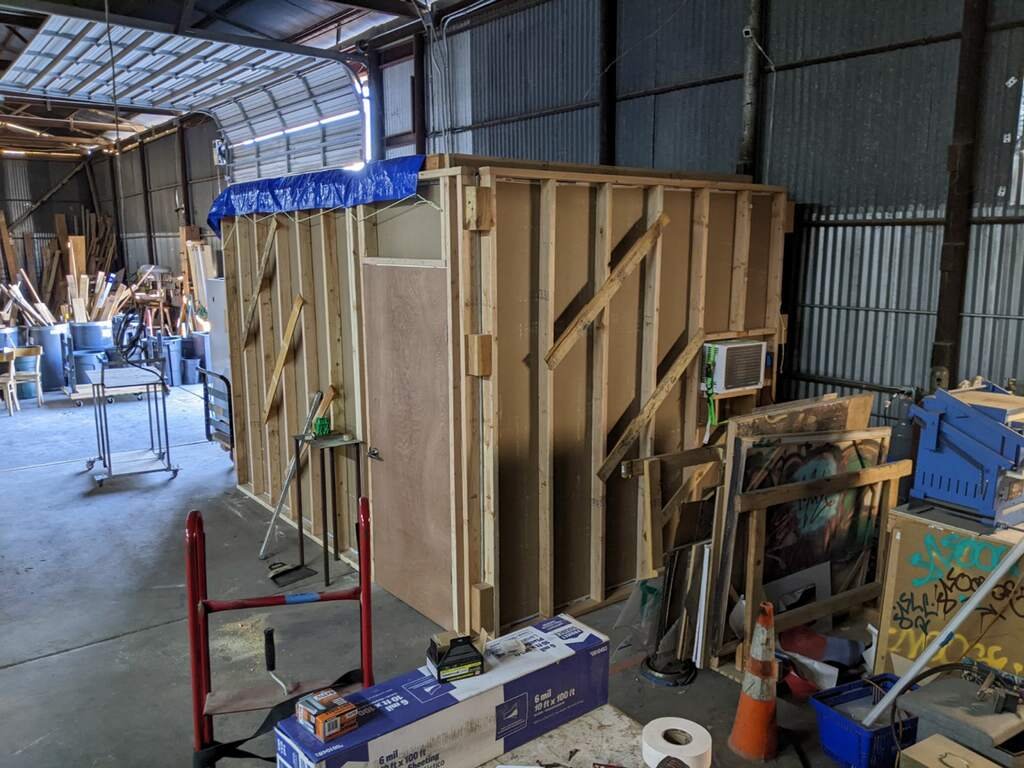
#1 Modular Construction
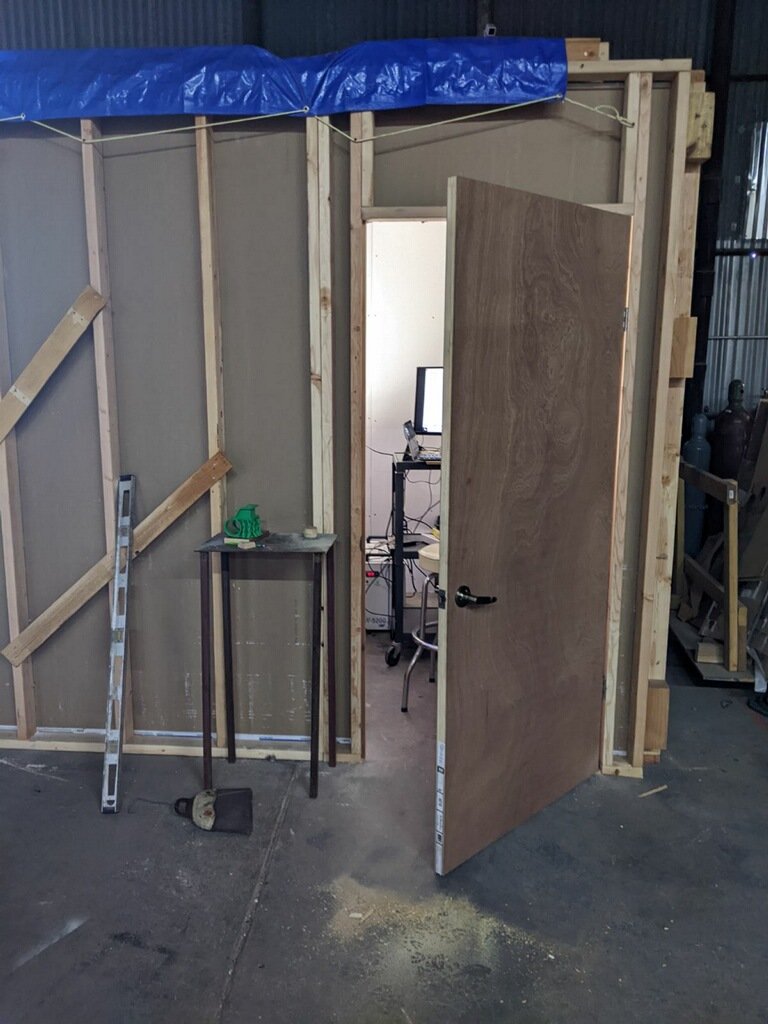
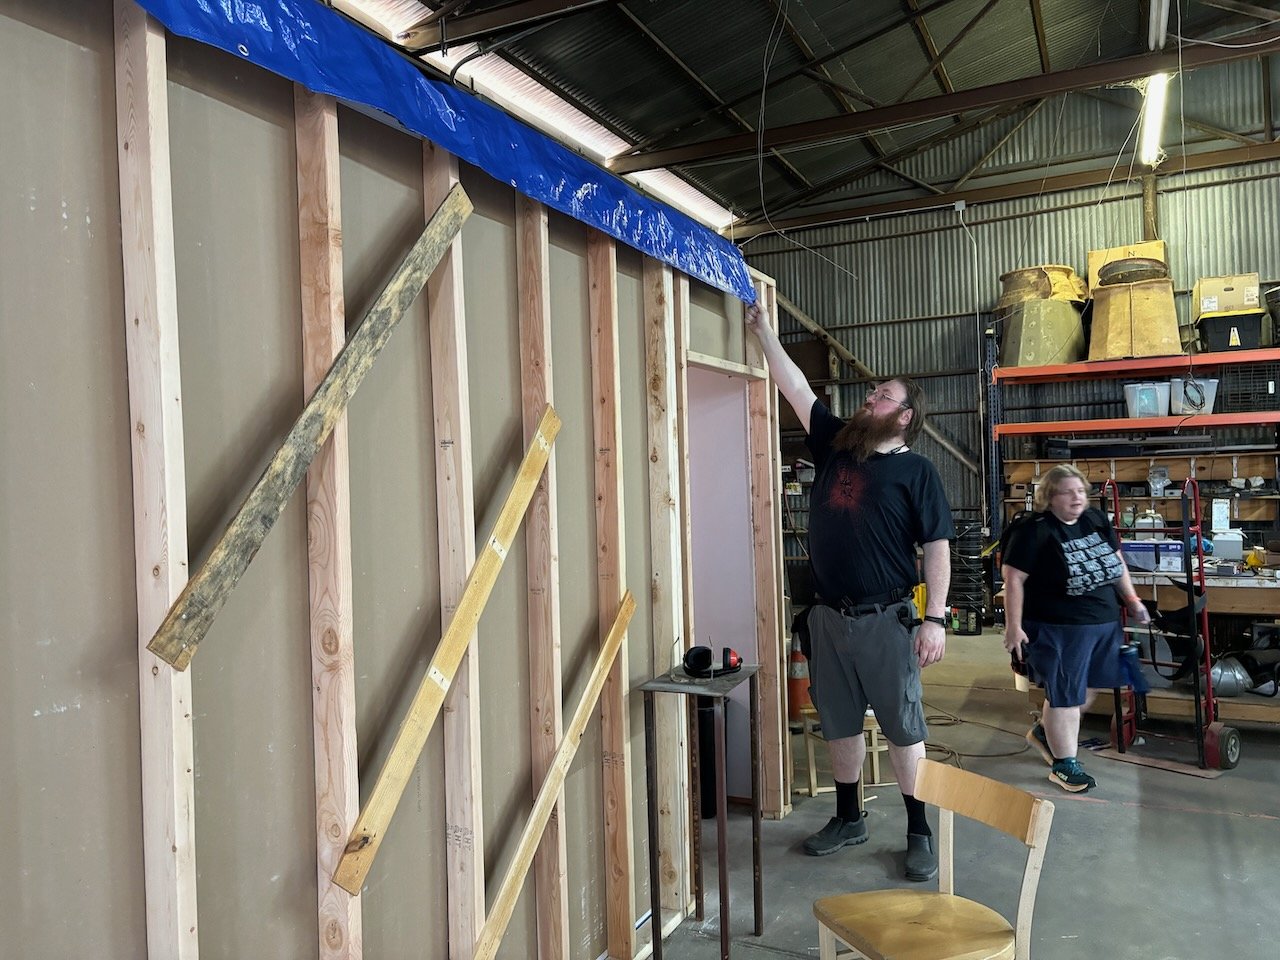
The waste hierarchy is reduce, reuse, recycle. With such a significant investment in material, we wanted to ensure that we could reuse or add onto the structure if the needs of the space changed. This is why we made an enclosure out of 8x8 and 8x4 foot panels. Each panel is screwed together and can be taken apart with ease. One of the benefits to this design is that if the LASER needs to be removed for maintenance, we simply remove a wall panel and roll it out.
#2 Built to Cost
You may look at the enclosure and ask yourself, “10Bit, why does it look so sh!t?“ To which I would answer, “We built it on the budget equivalent of searching every couch in the Lone Star district for loose change!” In all seriousness, we started this project wanting to be able to replicate success if we found it. Instead of blowing our money on one structure that may ultimately not even serve our needs we wanted to have room to fund more if we decided it made sense. Also, I think it has a certain utilitarian charm fit for a commune of makers :)
#3 Data Gathering
One of the things I am most interested to learn is how costly the space is to cool. One of the cost saving measures we opted to incorporate was the exclusion of insulating. With air flow required for ventilating the LASER and the comparatively low surface area of the walls, the math indicated that the cost of insulating to R-4 or higher wouldn’t have a return for many years and, to us, wouldn’t be worth the upfront cost. We will see if this is true, we will see if the AC can keep up during the summer. If not, we can always insulate the walls, they are still open on the exterior to allow us to make that improvement.
Thanks to those that helped!
10Bit thanks Beans Conley, Matthew Aycock, Spark Grandpre, Jeremy Morris, Bob Robinson, Don Smeller, Juan DeVilbiss, Ned Meneses, and Jennifer Starling for their help on this project.